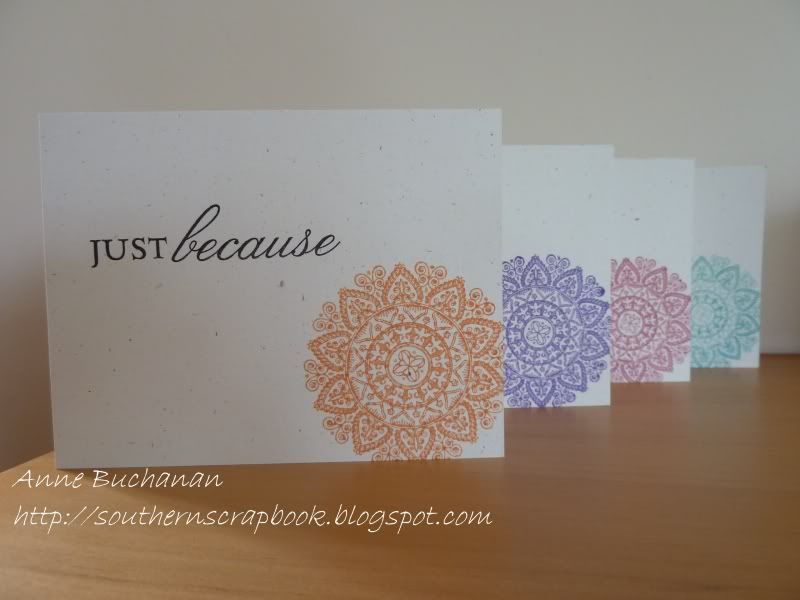
I made a set of cards using PTI Mehndi Medallion. Clean and simple and easy to mail. Not much more to say really!
Supplies
Wednesday, November 30, 2011
Monday, November 28, 2011
Friday, November 25, 2011
Just a note
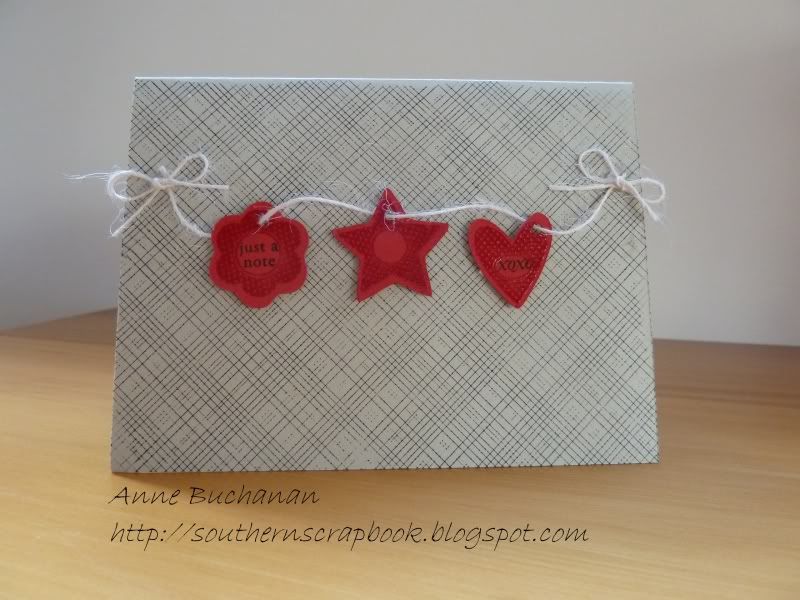
Here's a simple card I made recently for my aunt. It features my new favourite background stamp - envelope pattern from Hero Arts. What I haven't shown is how many 'out takes' it took to get a card base that looked halfway decent. Using A2 size stamps is a bit trickier than I imagined. Or maybe I'm just 'background challenged'? Anyone got any hints or tips?
Supplies
Paper - SU sahara sand, PTI pure poppy
Stamps - PTI Tiny Tags, Hero Arts Envelope Pattern
Ink - Versafine onyx black, versamark
Accessories - Tags svg, clear embossing powder, PTI cream button twine
Supplies
Paper - SU sahara sand, PTI pure poppy
Stamps - PTI Tiny Tags, Hero Arts Envelope Pattern
Ink - Versafine onyx black, versamark
Accessories - Tags svg, clear embossing powder, PTI cream button twine
Wednesday, November 23, 2011
Congratulations!
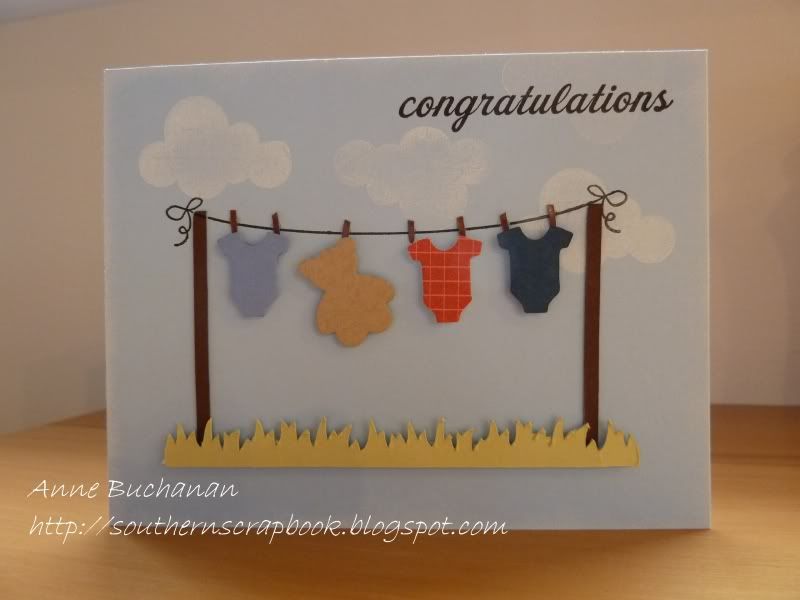
Friends of mine are expecting a baby at the end of the year. They know it's a little boy, so I thought I might as well get a head start on the card.
I love PTI's 'Hanging Out' stamp set but couldn't justify buying it as I have a couple of similar sets. Here's my take on the washing line using the string from Banner Builder, posts and grass cut with my cricut and images from a Quickutz die set. The 'pegs' (clothes pins) are the ends of little brown brads:
Supplies
Labels:
baby,
Banner Builder,
cards,
Enjoy the Ride,
PTI,
Up Up and Away
Monday, November 21, 2011
His and hers
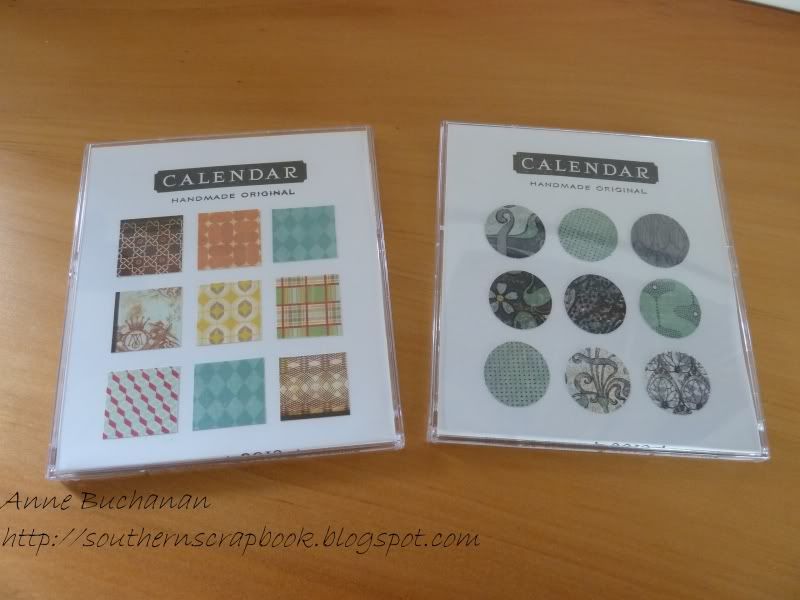
Here are a couple more calendars I plan to give as Christmas gifts. Again, these use patterned paper and came together really quickly:
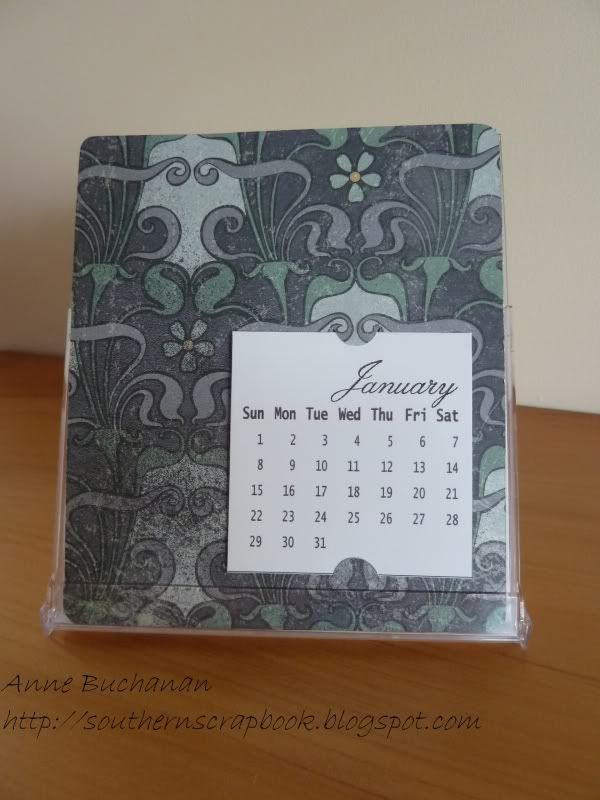
And here is one of the pages:
Supplies
Paper - White cardstock from stash, SU Nouveau Chic DSP, Crate Paper Toybox Collection, Basic Grey Curio Collection
Stamps - PTI Calendar Basics
Ink - Versafine onyx black
Accessories - Perpetual Mini Calendar Maker for PSE, calendar page svg, calendar CD case
And here is one of the pages:
Supplies
Paper - White cardstock from stash, SU Nouveau Chic DSP, Crate Paper Toybox Collection, Basic Grey Curio Collection
Stamps - PTI Calendar Basics
Ink - Versafine onyx black
Accessories - Perpetual Mini Calendar Maker for PSE, calendar page svg, calendar CD case
Labels:
Calendar Basics,
calendars,
PTI
Friday, November 18, 2011
Die organisation
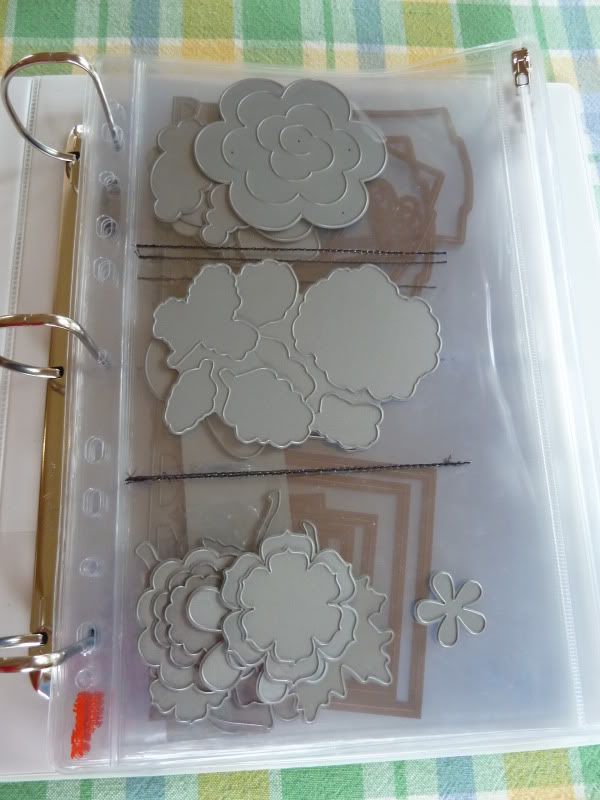
I've been storing my dies in a 'display book', but the clear pages have started tearing as I've been pulling dies in and out. That's why I was so excited to see Heather Nichols' post here about a new way of organising her dies. I store some of my clear and cling stamps in a folder and thought it would make sense to add another folder with dies. We have Office Max here too and I was hoping that maybe I would find the same [IN]PLACE line had reached our shores.
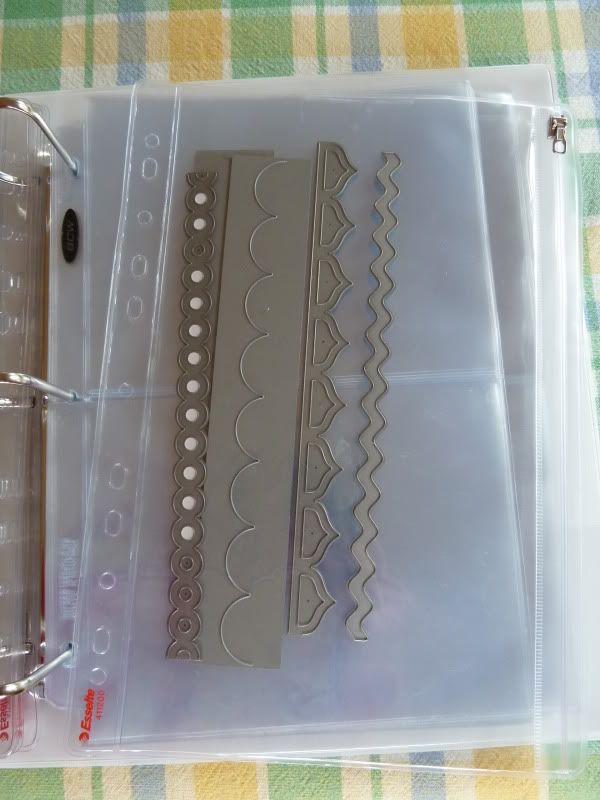
No such luck, but I did find some sturdy A4 zip pockets at a local stationery store. I kept one at full size for storing border dies:
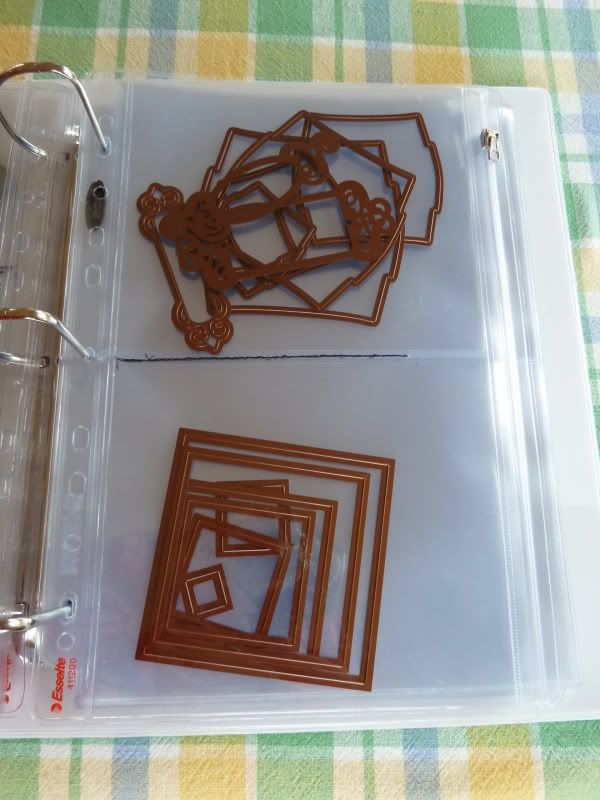
And used my sewing machine to stitch the others to create either 2 or 3 pockets to hold smaller dies:
Very happy with the result!
No such luck, but I did find some sturdy A4 zip pockets at a local stationery store. I kept one at full size for storing border dies:
And used my sewing machine to stitch the others to create either 2 or 3 pockets to hold smaller dies:
Very happy with the result!
Labels:
storage
Wednesday, November 16, 2011
Take 2 - Round and Round
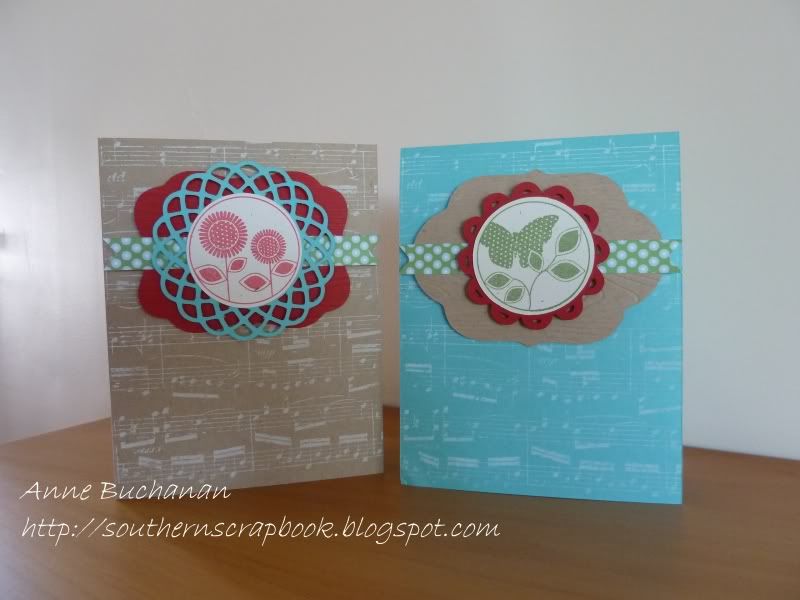
I needed a few easy-to-mail cards for my stash. Haven't inked up PTI's Round and Round anniversary set for a while, so thought it was time it saw some daylight. I used my new Hero Arts music background stamp. Love the fact that it's full A2 size and I don't have to line anything up.
Here's what I came up with. No sentiments yet - I'll leave the cards blank until I decide who to send them to and for what occasion:
Supplies
Here's what I came up with. No sentiments yet - I'll leave the cards blank until I decide who to send them to and for what occasion:
Supplies
Labels:
cards,
Hero Arts,
PTI,
Round and Round
Monday, November 14, 2011
FAQ
From time to time I get asked questions and since I wasn't sure how replying to comments would go, I thought the best way to asnswer some of them was right here:
1. Did you make those or buy these glittery buttons ?
I made them. Guess you could use glue and glitter, but I used stickles for these ones. Just apply and let dry (preferably overnight).
2. What svg file did you use for the rolled roses here?
This is one of Penny Duncan's fabulous files. You can see the rolled rose here and download the files here. If you have an electronic cutter, I suggest you check out the rest of Penny's blog. She makes a huge range of cutting files in all the main formats - SVG, DXF, GSD and PDF.
3. How did you make these flowers?
It's super easy. I used PTI's satin ribbon for these but you can use any kind of ribbon or strip of fabric. Take a needle and thread, put a knot in the thread, start at one end of the ribbon and, using a running stitch, stich close to one edge. Then just gather the ribbon along the thread until you have the flower the size you want. I overlap the ends a bit to make a rosette kind of shape. Put a button, pearl etc in the centre to cover up the little hole and you're done.
4. How do you tie your bows?
Most of my bows I just tie by hand. For double bows, like the one on this card, I use the bow easy. I use a 'cheaters' method and attach a strip of ribbon to the card front, then tie my bow separately and attach it with a glue dot. As for ribbon, I think PTI's grosgrain or saddle stitch ribbon produce the nicest bows. If you're looking for great tips, I found Dawn McVey's bow tying video really helpful. You can check it out here.
Thursday, November 10, 2011
Best wishes
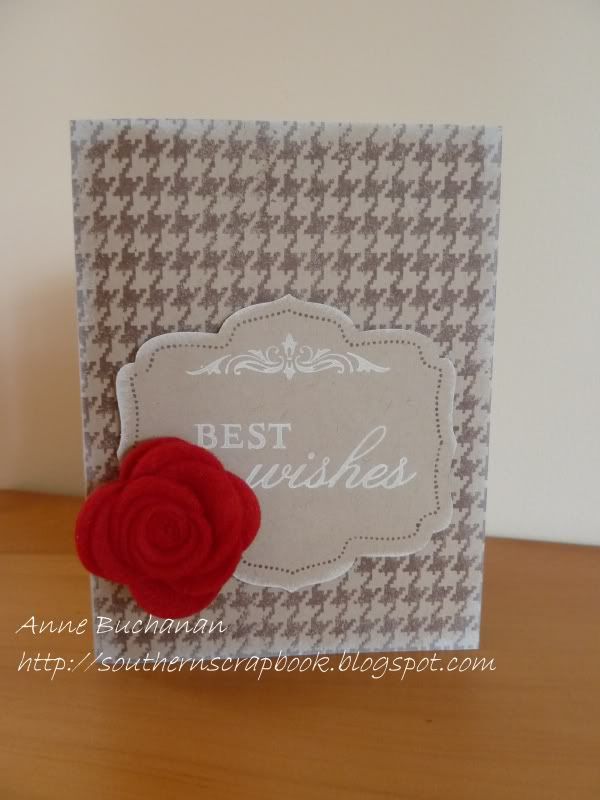
I have an svg file for cutting rolled roses on my cricut, but it doesn't work so well with felt. That's because you need to use something like heat n bond to stiffen the felt before the cricut will cut it - ok if your felt item is going to be glued down, but not so useful if you want to roll it up!
Long story short, I ended up buying one of the rolled flower dies from MFT - My Favorite Things. The die cuts very well - even using a scrap of craft store felt for this one.
Supplies
Long story short, I ended up buying one of the rolled flower dies from MFT - My Favorite Things. The die cuts very well - even using a scrap of craft store felt for this one.
Supplies
Labels:
cards,
Giga Guidelines,
Hero Arts,
PTI,
Very Vintage Labels 5,
WMS
Tuesday, November 08, 2011
Felt bookmarks
Haven't posted for a few days because my Mum has had a very bad stroke and is in hospital. But I thought I'd pop in and schedule a few more posts. Would appreciate your thoughts and prayers for Mum and the family!
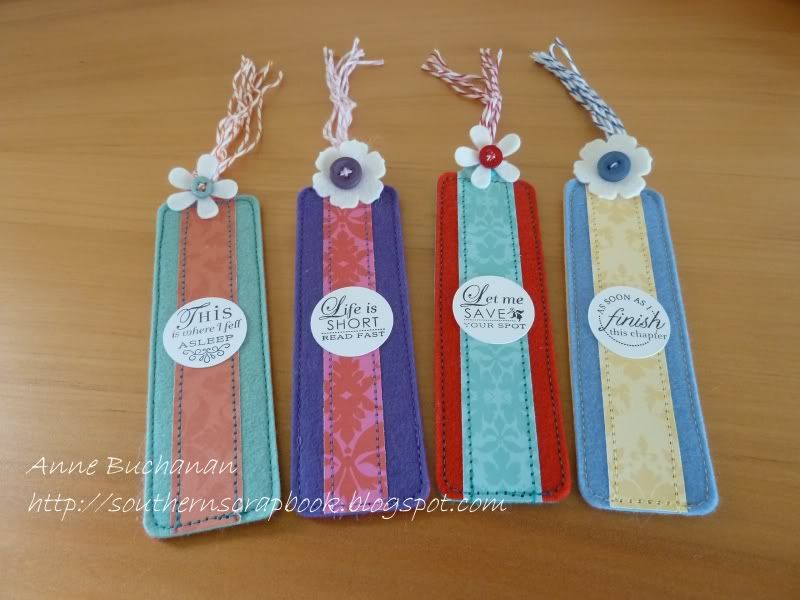
In the last few weeks, I've been working on some Christmas gifts. Decided to break out PTI's bookmark die and some felt. PTI's wool felt cuts like a dream and these are the result of a few hours of crafting:
Supplies
In the last few weeks, I've been working on some Christmas gifts. Decided to break out PTI's bookmark die and some felt. PTI's wool felt cuts like a dream and these are the result of a few hours of crafting:
Supplies
Labels:
All Booked Up,
bookmark,
PTI
Subscribe to:
Comments (Atom)

